Tag Archives: Tone Tips

Tone Tips: How to cut through the mix in a live situation

Often we spend days or even weeks working on THE guitar tone in our bedroom (or perhaps that is just me). Once we are pleased with it, we proudly bring it to a practice session or to a gig and suddenly it does not sound that good at all. The most common complaints are that it does not cut through the mix or does not come out very clearly. Your band mates might even complain they cannot discern what you are playing (again perhaps that is just me)…

And even if you think you don’t have these problems, try to take notice at your next practice session or live gig, you might realize your tone can be greatly improved. I will cover live situations here but a lot of these tips are valid in recording situations as well. The biggest difference is that in a recording situation you have always some sort of possibility to rectify the tone during the mixing phase but a live gig is a fleeting moment…
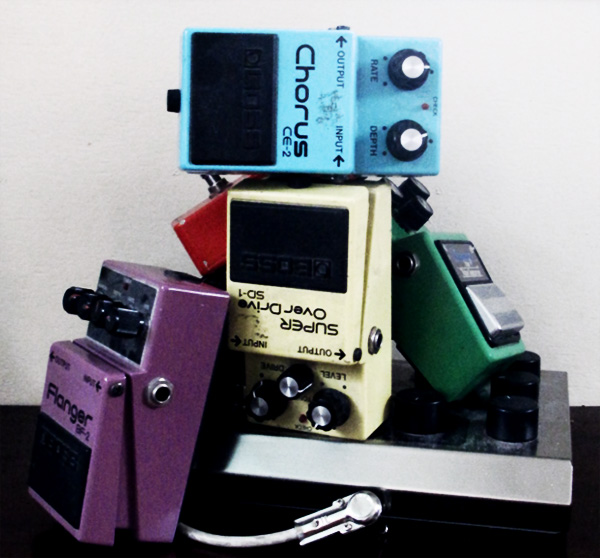
pedal stack
Too many effects?

I know that the first thing that people do to be more “present” is to just turn the volume up and up and up… We have all done it. This might work but will ultimately ruin the overall sound of the band as you will be over present, dare I say deafening?

There is a few changes you might want to try before pumping the hell out of your volume knob:

  1. if you have a lot of spatial effects such as delays and reverbs, you might want to turn them down or even off, at least just to see if your guitar cuts through the mix better. Remember that the presets on the shiny new multi-effect unit that you have just bought are probably “over the top” to make it sound better when you try it out in a shop.
  2. If you have a setting for mediums on your amp (or modeling amp, distortion pedal, multi-effect, etc.) you might want to try to increase it. On its own, it might make your sound unpleasant as a majority of us love “scooped” tones but, in a band situation, that might give you more presence. The body of the guitar tone is in the mids. And this is probably why the Tube Screamer is such a popular pedal as it has a mid range hump that will make it cut through the mix.
  3. Lower the gain: apart for styles that require extreme amounts of gain such as death metal, I often find that lowering the gain, even if it makes some licks harder to play, will give you more dynamics, expressiveness, and ultimately an improved presence.  It will require some readjustments in your playing but it might we worth it.
  4. Play less: I know us guitarists have a tendency to want to “show off” but remember that, sometimes, a song might be best served by very simple licks or chords. Try to think of how your guitar should fit with the rest of the band and listen to your band mates, this is not a competition! And also if you play with a second guitarist and/or a keyboardist, try to find complementary parts and not to play the exact same thing (think Rolling Stones here).

Tone Tips: use of a compressor in recording situations

There are numerous compressor pedals on the market and every multi-effect includes a compression effect. They are especially useful to get that “clicky” clean sound for country licks and funky rhythm parts or placed before a distortion to increase the sustain and fatten things a bit.

Dynacomp
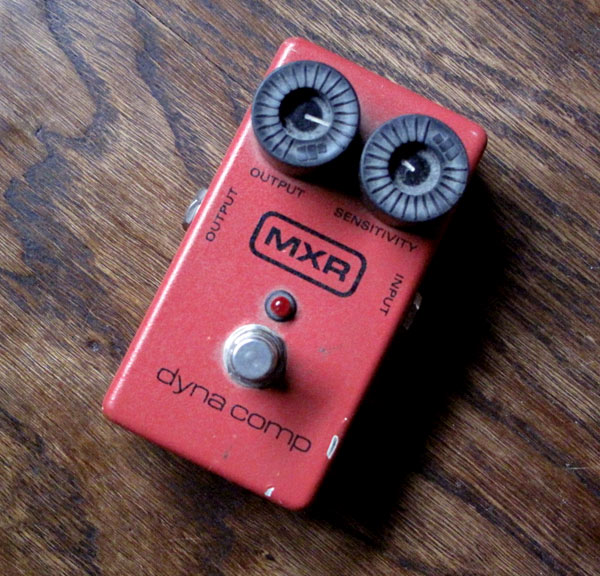
The good old MXR Dynacomp - this model is from 95

But I find they can also be very useful in recording situations especially when you cannot crank an amp or when you have to record direct. After all, compressors were not primarily invented to be guitar effects but they originated in the studio and are used in recording and mixing situations all the time, not only to avoid distortion but also to put forward some parts, smooth a bass line or increase the sustain of a guitar part, etc. The list of applications is endless.

So, a while ago, I was recording direct using my trusty Marshall JMP-1 preamp and I was using the clean channel with my pedal board laden with overdrive, distortion, delay, etc. in front of the preamp.  I found the tone to be a bit static and unrealistic. I then decided to try using a compressor, a BOSS CS-3 modified with the Monte Allum opto plus mod, in the effect loop of the JMP-1. So yes that means that all my other effects were placed before the compressor kicked in.

This is counter intuitive for guitarists as you are always told to put a compressor first in the chain but sometimes rules are meant to be broken. Note that some guitar compression pedals are not exactly studio grade so results may vary but I was quite satisfied reproducing the same trick with a standard MXR Dynacomp, the compressor of all guitar compressors (my model has nothing fancy, it is unmodified and was made in 95).

The resulting tone was more realistic and lively be it clean or colored by overdrive or distortion pedals. The difference is subtle but, to me, having a bit of compression at the end of the chain mimics the natural compression of a clean but loud tube amp.

I have recorded a demo using my Fender Stratocaster equipped with noiseless Kinman pickups, a RAT 2 distortion and a BOSS DD-3 Delay into a clean Marshall JMP-1 plugged directly into the sound-card (an EDIROL FA-66).

Here is the tone without the compressor:

Audio MP3

This is not bad but not very smooth.

Now, here is the same tone with the MXR Dynacomp placed in the effect loop of the JMP-1 preamp. The effect loop level is set so that only 80% of the tone go through the compressor:

Audio MP3

I find that it is smoother and has more sustain. I also find that harmonics come out better.

And here is the same configuration but this time with the effect loop set so that all the tone goes through the compressor:

Audio MP3

Even smoother… The Dynacomp had the output on 3 o’clock and the sensitivity quite low, on 10 o’clock.

I have tried the same trick using a BOSS CS-3 with a Monte Allum modification:

Audio MP3

The CS-3 had the following settings: Level at 3 o’clock, Tone at 10 o’clock, Attack at 10 o’clock and Sustain at 11 o’clock.

So girls and boys, just experiment and try to put that compressor at the end of the effect chain especially after a modeling or tube preamp if you record direct. I also suspect that a low volume amp could benefit from having a good compressor in the effect loop.

BOSS US tones of the month and podcast

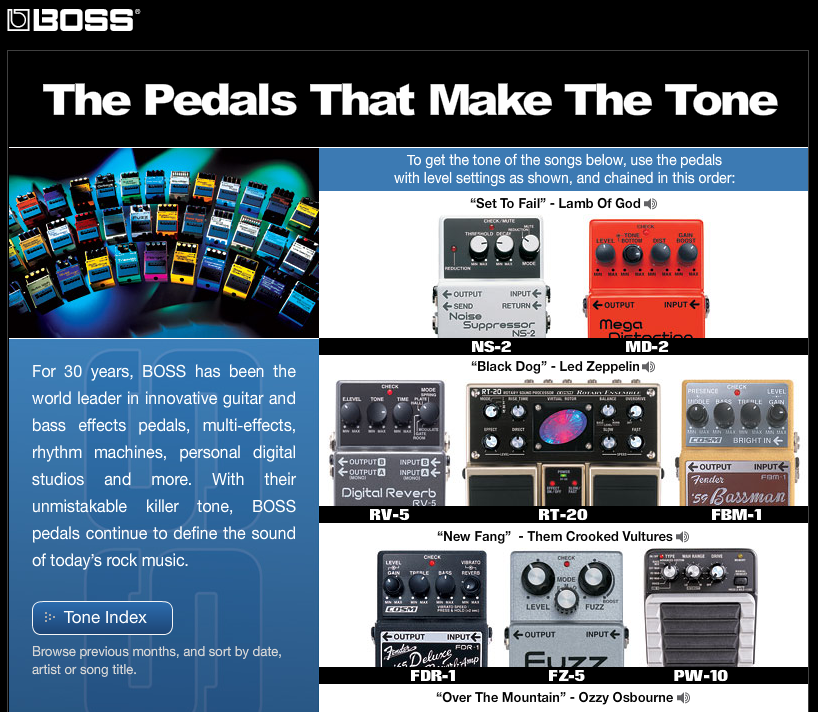
BOSS US have some very interesting goodies on their website. First, the excellent Paul Hanson is giving tone recipes every month. He basically shows you how to reproduce the guitar tone(s) of a famous song using a small set of BOSS pedals. It is really cool, click on the image to go to the index:

Boss tone index

Secondly, Paul Hanson has been hosting a podcast (available here) for a few years now. There is a new edition more or less every two months and it usually features one guitarist or bassist. There is a lot to be learned, most of the interviewees are session musicians and I wish they would all stop reminding me that I should always practice with a metronome. Anyway, check it out!

Two years with the BOSS Micro-BR Part 2

In Part 1, I have presented the recording, mixing and bouncing capabilities of the Boss Micro-BR recorder. I would like to present now the mastering and instrument practice features of this little shiny machine. We will also see how we can export our masterpieces but also how we can import material.

Recording Addendum

In my precedent piece, I forgot to mention the punch-in/punch-out functionality, shame on me! So please know that the Micro-BR will allow you to define a hands-free way to record between two points in time. So if you have recorded a 20 minute guitar solo, as we all do, but you are not satisfied with a 10 second bit right in the middle, you can record over this bit very easily, just tell the Micro-BR where to start and when to stop recording.

Mastering

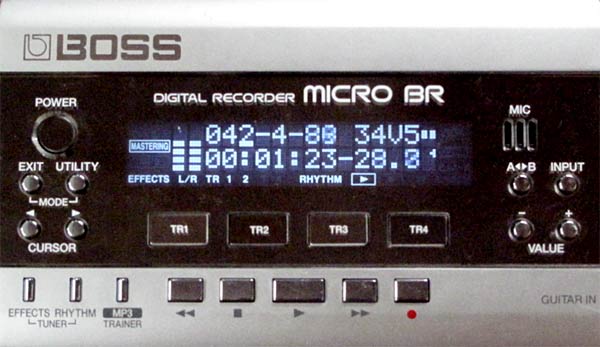
The Micro-BR has a mode dedicated to mastering. This mode embodies the “final phase” of music production. It allows you to work on the sound (and loudness) of the final mix. It uses the built-in multi-effect unit to process the final mix. The following stages are available :  input gain, compressor, equalizer, limiter and output gain. The compressor is three band (which is pretty awesome for a machine like this). You can chose the band frequencies through the input gain stage which is a bit counter intuitive. You can set different ratios, threshold and attack/release times for bass, mids and trebles. The equalizer has also three bands and can boost by 6db or reduce by 80 (!).

Micro-BR mastering

The limiter has a threshold and attack/release settings, it will ensure you are not distorting the output. The input gain will boost the signal before it is compressed/equalized/limited while the output gain will boost it afterwords. All in all, this makes out for pretty drastic changes. I find it especially useful to reach an acceptable level of volume. Now of course your version of acceptable might not be mine 😉 You can record the results of this mastering phase onto virtual tracks (see Part 1 ) and the Micro-BR will then ask you if you want to produce an MP3 file (128 Kbps or 192 Kbps) or a Wave file of the recording. After some processing time, the file is available for you to copy using the USB port integrated to the Micro-BR to connect to your favorite computer. And voila.

Here is a mix BEFORE mastering:

Audio MP3

And now AFTER mastering, I have put some compression, reduced the mids a bit and moderately increased the overall volume:

Audio MP3

You can click on the “play” button of these two players alternatively to check out the difference.

Note that mastering is pretty much an art and it will take a lot of trials and errors before you will get it right.

MP3 Trainer

A quite important feature of the Micro-BR is the MP3 trainer functionality. Via the USB port I mentioned earlier, it is possible to copy MP3 files onto the recorder to use them to jam along. The Micro-BR is picky in terms of format and I find that only 128Kbps MP3s will work without flaws. If you are working on a piece that is particularly fast, you can slow it down without altering the pitch (awesome to learn scorching guitar solos). As always with time-stretching technology, the more you steer away from the original speed, the “funnier” the song is going to sound but it is very useful nonetheless. You can also “cancel the center” of the song you are jamming along with which will remove part (or all) of the main vocals or the main lead instruments. This is based on the fact that these are often mixed in the center of the stereo spectrum.

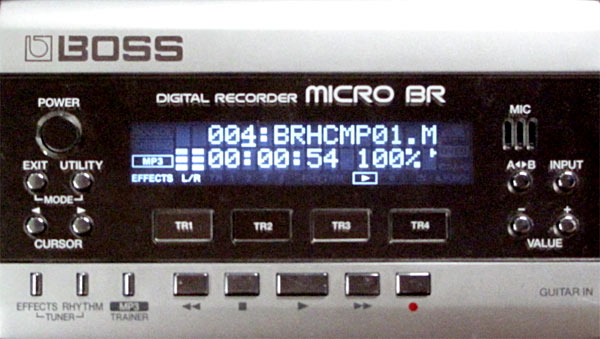
Micro-BR MP3 Trainer
The Micro-BR in MP3 Trainer Mode - 100% means that the song is played at its original speed

Importing/Exporting

We have seen earlier how it is possible in mastering mode to export a whole mix in Wave or MP3 format. It is also possible to export a single track to an MP3 or Wave file. It is conversely possible to import a Wave file or an MP3 file into a track. Just use the USB connection to your computer to copy files to the MP3 folder of the Micro-BR and they will be available for importing. When you import you can decide where the imported sample will be inserted exactly.

Read the manual and use the tuner

The Micro-BR packs a lot of functionality in a little package and they are all well described in the manual so be sure to read it (not like me).Moreover there is a quite active online community around the Micro-BR on bossbr.net (check out the forums). And this post would not be complete without mentioning the excellent integrated chromatic tuner, there is no excuse to be out of tune when you record anymore!

Conclusion and wishlist for version 2

I must say that after two years of constant use I am quite impressed with the Micro-BR, it does quite a lot for a reasonable price and is an awesome companion to any musician really. There is a number of things that I would love to see should a version two come to the market: faster loading time, the tempo bug mentioned in part 1 solved, a normal size jack for the line/external mic input, a “per track” mute/solo function, the ability to export all tracks to seperate files at once and a pitch shifter/octaver. I will pray to the Boss gods for all this to happen.

Related Posts with Thumbnails